This post is a little out-dated. Hopefully I’ll have time to update it soon, but in the mean time check out the more comprehensive and up to date guide on context menus here.
Introduction
WWDC was a little insane this year. It felt like Apple announced everything I’ve ever wanted as a developer and a consumer, and then piled on way more stuff. SwiftUI, Dark Mode on iOS, and after all these years.. a less intrusive volume HUD - 🤯 indeed.
It’s not surprising that in this deluge of new APIs, some haven’t been documented yet, including Apple’s replacement for 3D Touch Peek & Pop: Context Menus. When I saw this tweet from Steve, I realized that these menus have a lot of potential since they can be used on iPads (and any other iOS device) now. Instead of being limited to devices with 3D Touch, you can add core functionality without worrying that some users won’t be able to access it. I started googling around and found this page in the updated Human Interface Guidelines (or HIG for short). It has some great guidelines that you should definitely read, but we’ll come back to that later. The HIG says to check out the docs for UIContextMenuInteraction, which, unfortunately, weren’t much use at all (yet, at least). Fortunately, you have this blog post to guide you through adding a context menu to your very own app!
Adding a context menu
For this blog post, we’ll be adding context menus to an app for collecting photos of cute puppers. To start with, our app will just display one pupper that you’ve collected, in an image view like so:
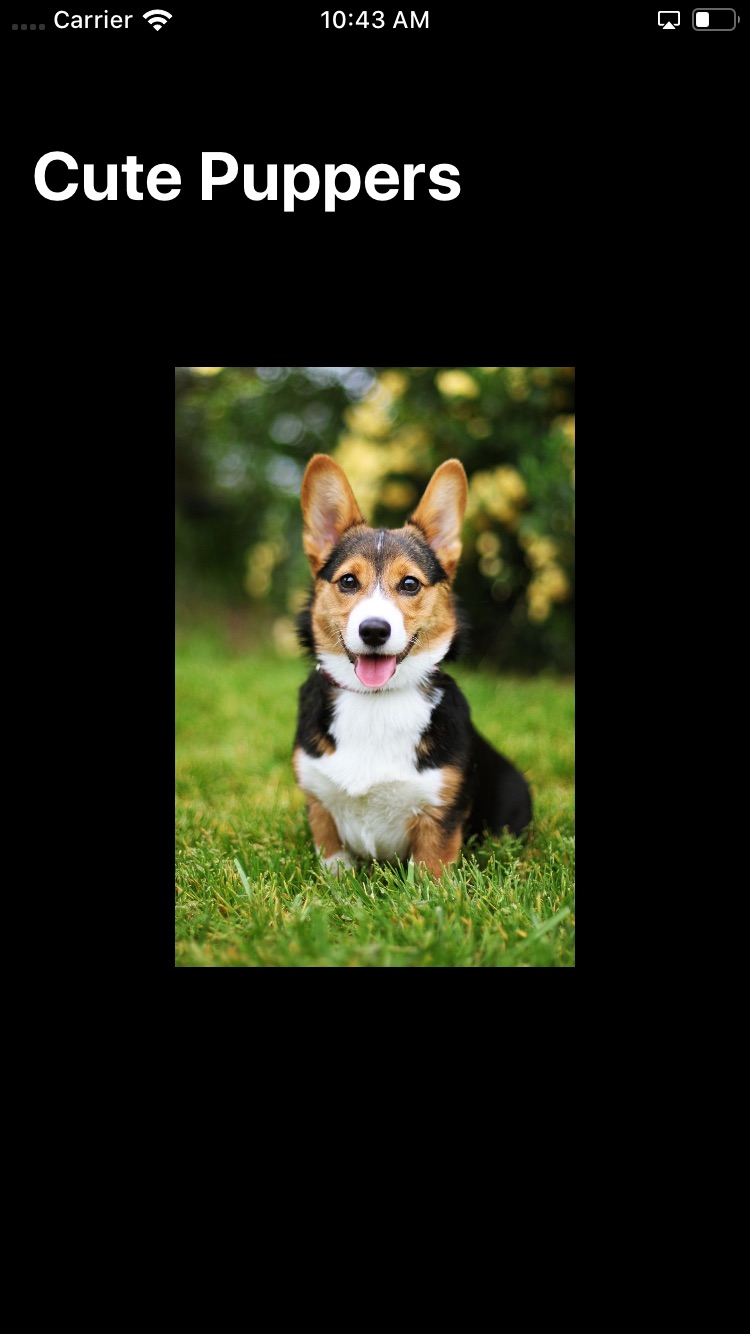
Our view controller class would look something like this, with some additional code to set up the title and lay out the image:
class PupperViewController: UIViewController {
    let pupperImageView = UIImageView()
}
Besides collecting photos of puppers, our app has two purposes - sharing those photos, and showing the location the photo was taken on a map. Tapping on the photo will open a detail view with the map, so a context menu is a great place to add that additional sharing functionality. That way a user can tap and hold or 3D Touch the pupper to share it.
To get started, we need to create a UIContextMenuInteraction and add that interaction to a view with the UIView.addInteraction method. The initializer for UIContextMenuInteraction requires a delegate conforming to UIContextMenuInteractionDelegate, so let’s plan on making our view controller conform to that protocol. We can add the interaction in viewDidLoad:
override func viewDidLoad() {
    super.viewDidLoad()

    // Image view set up...

    let interaction = UIContextMenuInteraction(delegate: self)
    pupperImageView.addInteraction(interaction)
}
Let’s extend our view controller to conform to the delegate protocol, which has one required method: contextMenuInteraction(_ interaction: UIContextMenuInteraction, configurationForMenuAtLocation location: CGPoint) -> UIContextMenuConfiguration ? - quite a mouthful! In this function, you can disallow the interaction by returning nil, or you can return a UIContextMenuConfiguration to provide a context menu for the interaction. The initializer for this configuration has three arguments, all of which are optional:
identifier, which allows you to specify an ID if desiredpreviewProvider, which is just a typealias for a function with no arguments that returns an optional view controlleractionProvider, which is another typealias for a function of type([UIMenuElement]) -> UIMenu?, which is where you create and return the context menu
We’ll just implement actionProvider for now:
extension PupperViewController: UIContextMenuInteractionDelegate {

    func contextMenuInteraction(_ interaction: UIContextMenuInteraction, configurationForMenuAtLocation location: CGPoint) -> UIContextMenuConfiguration? {

        return UIContextMenuConfiguration(identifier: nil, previewProvider: nil, actionProvider: { suggestedActions in

            return self.makeContextMenu()
        })
    }
}
I’ve gone ahead and put the logic for creating the menu into a separate factory method to keep our delegate method organized, so let’s take a look at that implementation:
func makeContextMenu() -> UIMenu {

    // Create a UIAction for sharing
    let share = UIAction(title: "Share Pupper", image: UIImage(systemName: "square.and.arrow.up")) { action in
        // Show system share sheet
    }

    // Create and return a UIMenu with the share action
    return UIMenu(title: "Main Menu", children: [share])
}
The UIMenu and UIAction initializers both have a plethora of arguments, but fortunately most of them have default values. For our purposes, we just need a title, an image, and a handler for our action, and an array of children for our menu.
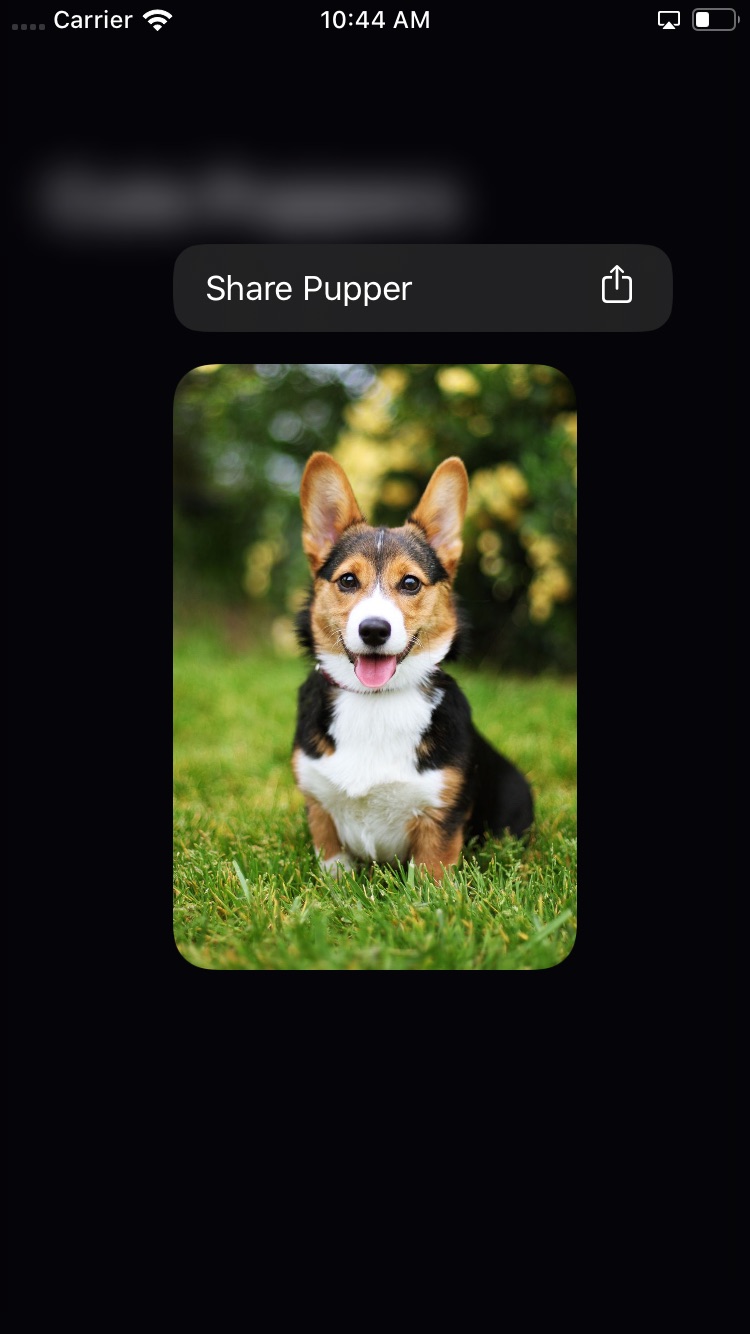
Now when we long-press on our pupper, our menu pops up! I love this API because we also get a lot for “free” - unlike the Peek and Pop API where you have to provide a source view and a source rect, the view we added the interaction to is previewed automatically, with rounded corners and everything:
Adding a sub menu
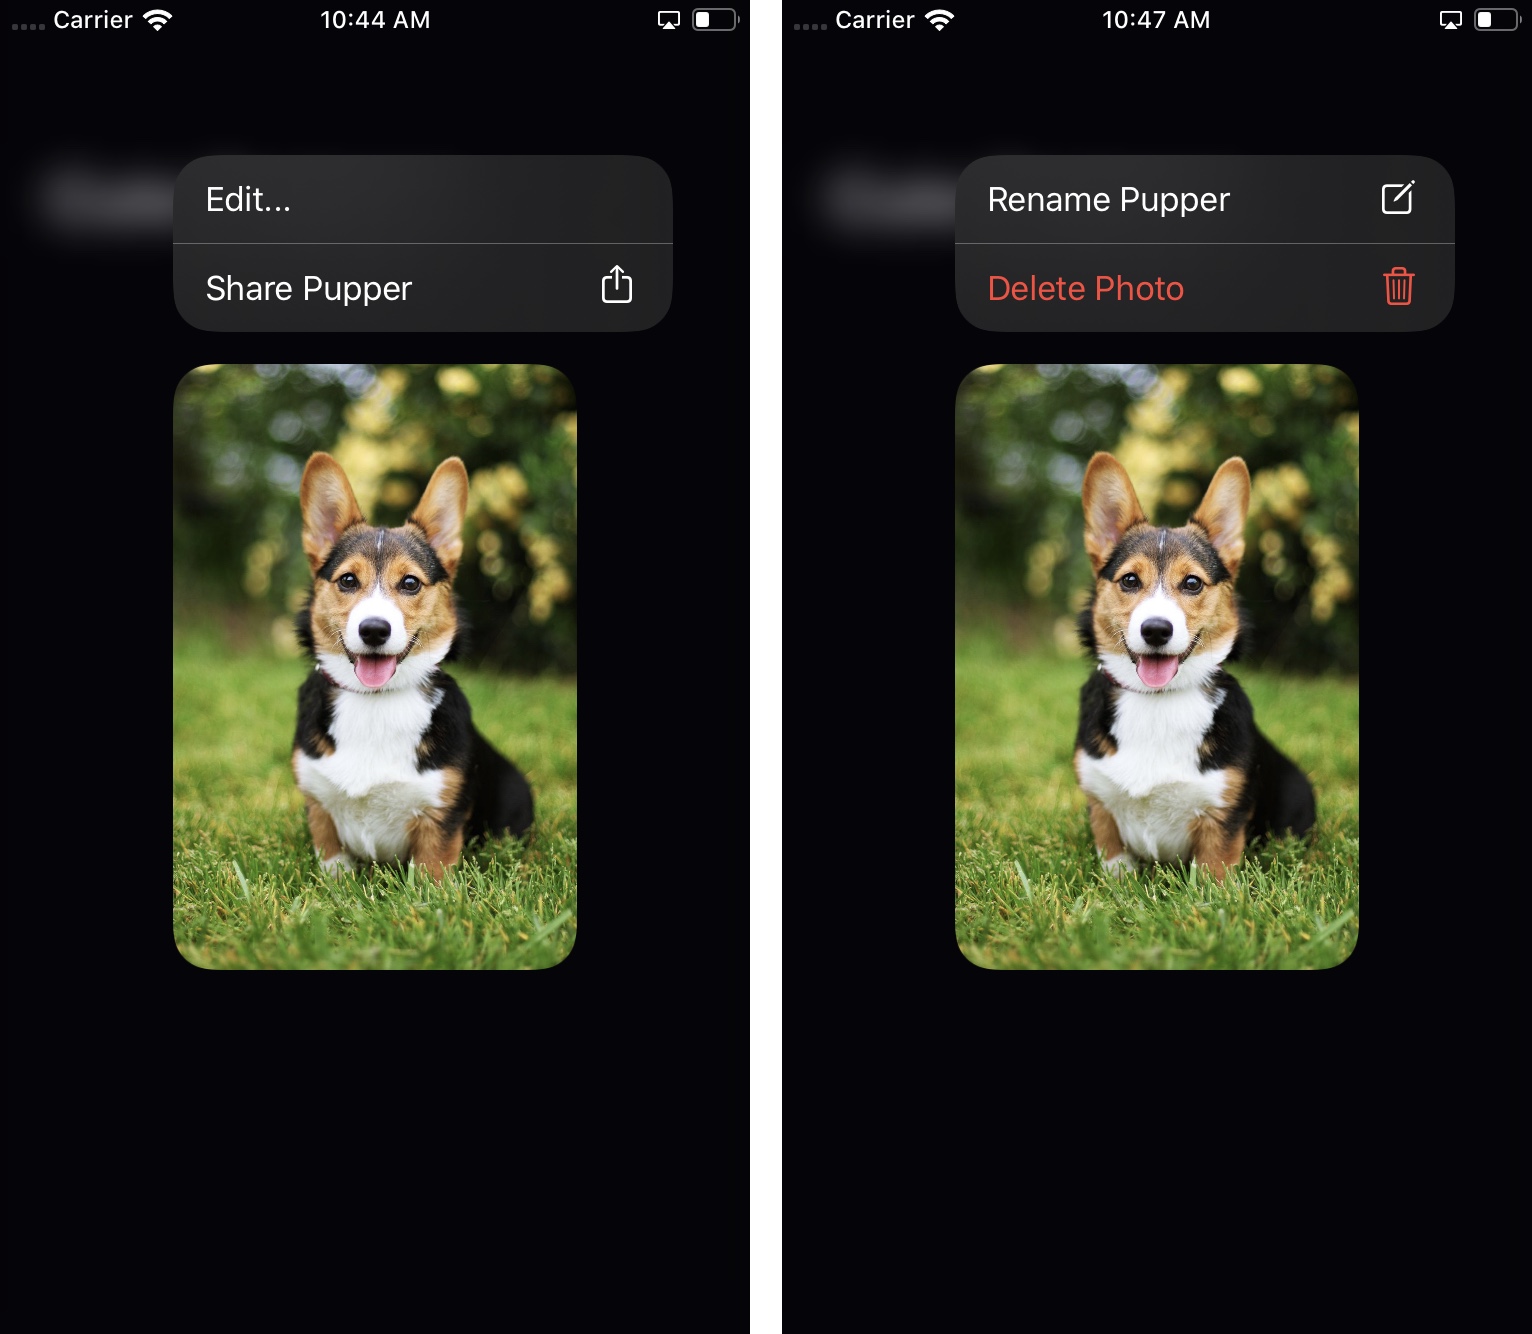
Let’s say we want to add a view more options to our menu, for example, “Rename” and “Delete.” It would be great to group these under an “Edit” section - and fortunately it’s pretty easy to do just that! It turns out that the children of a UIMenu can be either UIActions or another UIMenu! Let’s update our factory method to add that edit menu:
func makeContextMenu() -> UIMenu {

    let rename = UIAction(title: "Rename Pupper", image: UIImage(systemName: "square.and.pencil")) { action in
        // Show rename UI
    }

    // Here we specify the "destructive" attribute to show that it’s destructive in nature
    let delete = UIAction(title: "Delete Photo", image: UIImage(systemName: "trash"), attributes: .destructive) { action in
        // Delete this photo 😢
    }

    // The "title" will show up as an action for opening this menu
    let edit = UIMenu(title: "Edit...", children: [rename, delete])

    let share = UIAction(...)

    // Create our menu with both the edit menu and the share action
    return UIMenu(title: "Main Menu", children: [edit, share])
}
Now our menu has an edit option, and when we tap on it, we see the actions in the edit menu!
Adapting to a collection view or table view
Now, our app isn’t much use if you can only have one pupper photo at a time. Let’s say we rewrote our app to use a collection view, and show you a list of pupper photos:
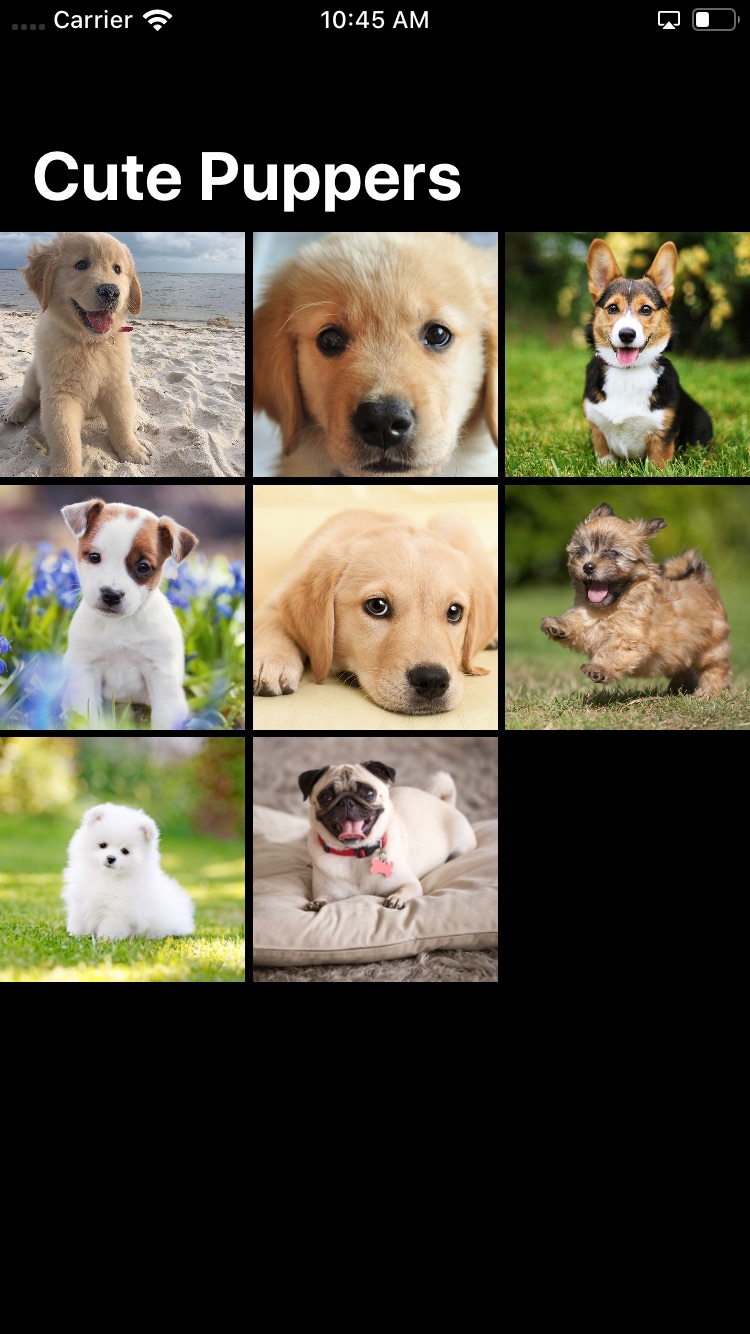
So cute! Now, adding a context menu to a collection view or table view is event easier than adding it to a regular view, because there are methods built directly into UICollectionViewDelegate and UITableViewDelegate for doing so! We can remove our code for adding the interaction, and remove conformance to UIContextMenuInteractionDelegate. All we have to do is implement one of the following methods (depending on whether it’s a collection view or table view):
// UICollectionViewDelegate
func collectionView(_ collectionView: UICollectionView,
                    contextMenuConfigurationForItemAt indexPath: IndexPath,
                    point: CGPoint) -> UIContextMenuConfiguration? {...}
// UITableViewDelegate
func tableView(_ tableView: UITableView,
               contextMenuConfigurationForRowAt indexPath: IndexPath,
               point: CGPoint) -> UIContextMenuConfiguration? {...}
In this example, we’ll implement the collection view method and paste in the exact same code we had in our interaction delegate. We’ll also update our factory method to take a Pupper model as an argument - that way we know which pupper to perform the action on.
// In "PupperCollectionViewController"
func collectionView(_ collectionView: UICollectionView, contextMenuConfigurationForItemAt indexPath: IndexPath, point: CGPoint) -> UIContextMenuConfiguration? {

    return UIContextMenuConfiguration(identifier: nil, previewProvider: nil, actionProvider: { suggestedActions in

        // "puppers" is the array backing the collection view
        return self.makeContextMenu(for: self.puppers[indexPath.row])
    })
}
Once you’ve implemented this method, UIKit will automatically use each cell to provide a preview and a context menu when pressed! It looks great in our collection view:
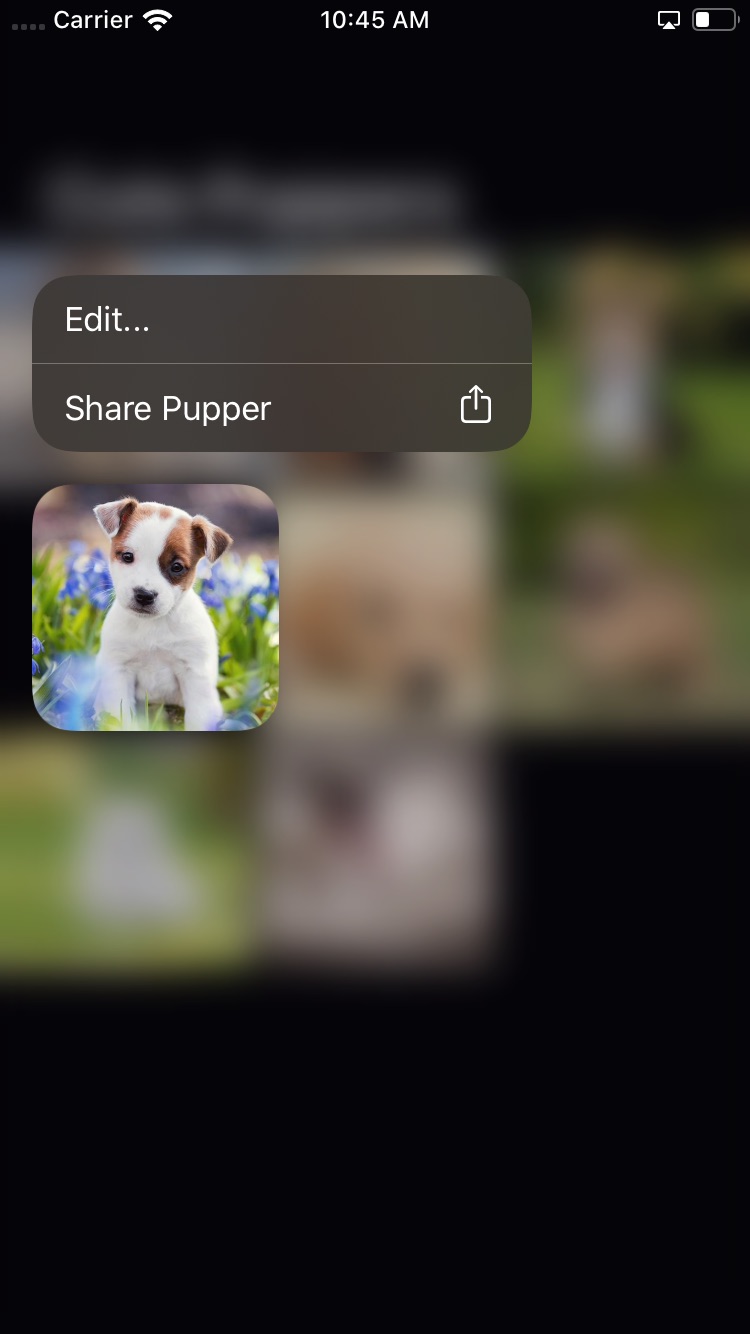
Providing a custom preview
Let’s say that instead of using a collection view for our puppies, we had a table view with their descriptions instead. We implemented the delegate method for providing a configuration, and it looked like this - not nearly as pretty as our collection view (and the preview isn’t very useful either!)
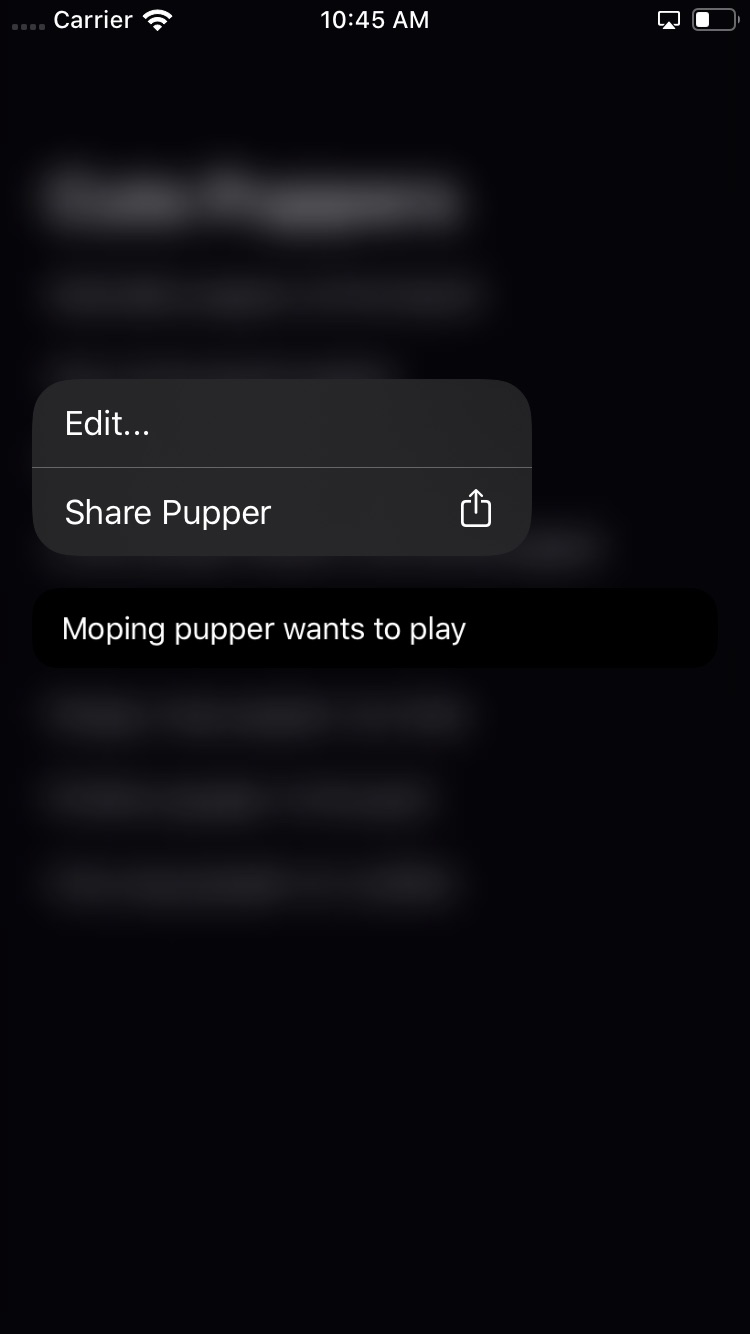
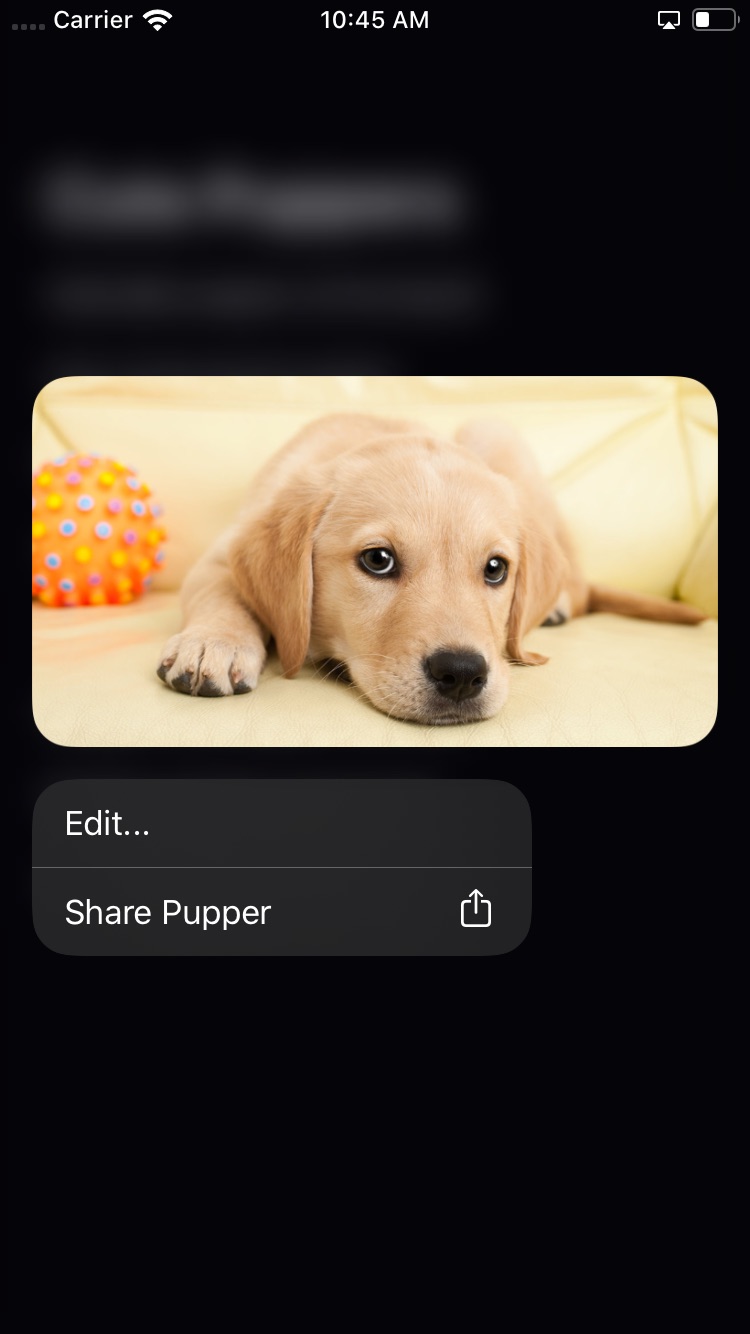
This is a great place to use previewProvider and show a custom preview. Let’s create a new view controller with an image view to use for previewing, and show the image of the pupper there instead. The view controller might look something like this:
class PupperPreviewViewController: UIViewController {
    private let imageView = UIImageView()

    override func loadView() {
        view = imageView
    }

    init(pupper: Pupper) {
        super.init(nibName: nil, bundle: nil)

        // Set up our image view and display the pupper
        imageView.clipsToBounds = true
        imageView.contentMode = .scaleAspectFill
        imageView.image = pupper.image

        // By setting the preferredContentSize to the image size,
        // the preview will have the same aspect ratio as the image
        preferredContentSize = pupper.image.size
    }

    required init?(coder: NSCoder) {
        fatalError("init(coder:) has not been implemented")
    }
}
Then we can add a preview provider implementation when we create our UIContextMenuConfiguration:
let pupper = puppers[indexPath.row]

return UIContextMenuConfiguration(identifier: nil, previewProvider: {
    // Create a preview view controller and return it
    return PupperPreviewViewController(pupper: pupper)
}, actionProvider: { suggestedActions in
    return self.makeContextMenu(for: pupper)
})
Now our preview shows off the cute little pupper!
Tapping on previews
With our current set up, we have a great preview and menu, but tapping on that preview does nothing. To wrap things up, let’s make sure tapping on the preview does the same thing that tapping on the collection view item or table view cell would do. That way the user can decide to open the item without having to dismiss the preview first.
To add this, you guessed it, we implement one more delegate method - either in our UIContextMenuInteractionDelegate, or our collection/table view delegate, whichever is appropriate. It’s named willCommitWithAnimator, and it’s called with the animator used to animate the preview. Much like UIViewPropertyAnimator, this animator has functions for adding animations and adding completion blocks. We’ll add a block of code in a completion block that pushes our detail view onto the navigation stack. Simply by implementing this delegate method, UIKit assumes we’ve added a “reaction” to the preview dismissing, and will dismiss it when it’s tapped. Here’s what that implementation might look like:
func contextMenuInteraction(_ interaction: UIContextMenuInteraction, willCommitWithAnimator animator: UIContextMenuInteractionCommitAnimating) {

    animator.addCompletion {

        self.show(PupperMapViewController(), sender: self)
    }
}
Now when the preview is tapped, we see the detail view just as if we had tapped the image view.
Sidenote: this is the UIContextMenuInteractionDelegate version of the method, and assumes we just have the one pupper to display. Unfortunately, the collection/table view methods don’t provide an index path, so I’m not sure how to determine *which* row was being previewed, and therefore which pupper to show in the detail.
That’s all I’ve got for now, I hope this post was helpful! Remember, this is a beta API, and is also pretty undocumented - I could definitely be doing things wrong, and everything is subject to change 😄 I’ll try to keep an eye out though, and I’ll update this page if things change!